Mobility is one of the most overlooked aspects of performance, yet it’s often the missing piece when it comes to improving your lifts, reducing pain, and preventing injuries.
This guide covers five key mobility exercises and stretches to help you move better, squat deeper, lift heavier, and feel more comfortable in your training.
Why Everything Is Testable
When it comes to mobility, testing and retesting is critical. Here’s the simple process:
-
Choose the lift or movement you want to improve.
-
Perform one of the exercises below on one side only.
-
Retest your chosen lift or movement — notice any changes.
-
Repeat the drill on the other side.
-
The best exercise for you is the one that provides the biggest improvement for the longest time.
This ensures you’re targeting the areas that actually make a difference rather than doing stretches that don’t help you.
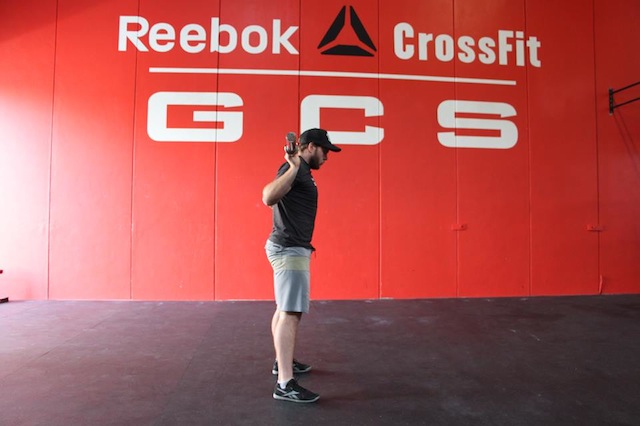
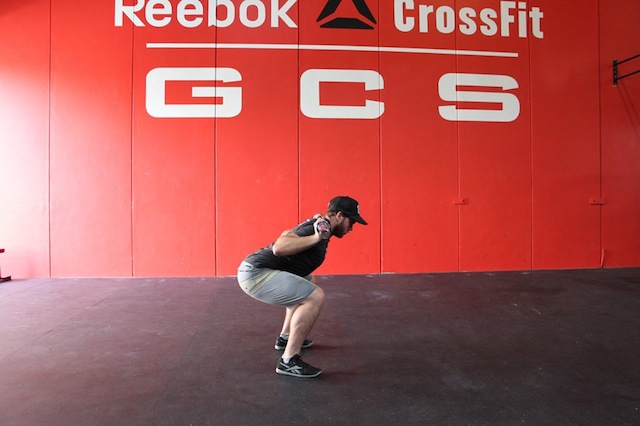
1. Squats with a Bar — Improving Hip, Ankle & Back Mobility
These are mobility squats, not heavy lifting squats. Always check with your coach on proper squat technique for training, but for mobility purposes, the goal is to explore range of motion safely.
Start Position
Choose Back Squat, Front Squat, or Overhead Squat. Focus on:
-
Feet straight — imagine them on train tracks. This improves hip and ankle mobility and creates more torque and stability.
-
Even weight distribution — across the whole foot, not just heels or toes.
-
Knees over ankles — descend naturally until you reach your normal limit, then allow knees to track slightly past your toes.
-
Avoid the “buttwink” — when your hips run out of room, the pelvis starts tucking (posterior tilt). Stop just before that point.
-
Back straight — maintain a neutral spine, avoiding both rounding and excessive arching.
-
Head and chin aligned with your thorax — avoid craning your neck up; keep your gaze steady and neutral.
-
Shoulders up and back — not forced down and back.
-
Use up to ~50% of your 1RM — this is for mobility, not strength testing.
Finish Position: Barbell on Knees at the Bottom of the Squat
This variation targets ankle flexibility:
-
Set up as above, but at the bottom of the squat, place the barbell across your knees.
-
Use gentle pressure to drive the knees forward past your toes.
-
Use light to moderate weight only (≤60kg / 135lbs).
-
This is not a squatting technique drill — it’s a mobility stretch.
-
If your hips restrict you first, stop where your range naturally ends.
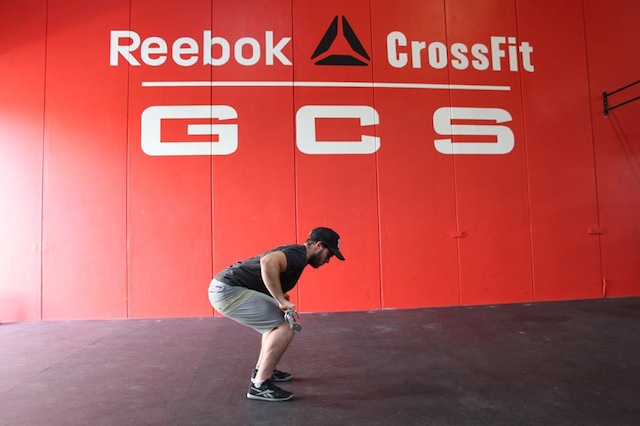
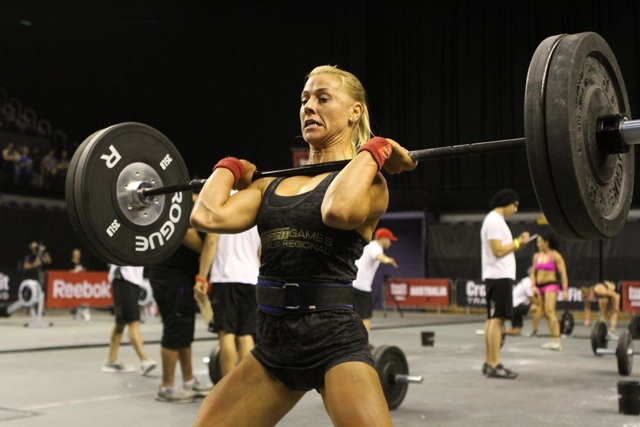
2. Hamstring+ Functional Stretches
I prefer functional stretches over using leg machines — they better simulate real lifting positions. The Hamstring+ Stretch mimics the setup for snatches and cleans, targeting not just the hamstrings but surrounding supporting muscles.
How to Perform:
-
Start with knees bent forward, back straight, and the bar positioned at the patella tendon (just under the kneecap).
-
Keep your back and neck neutral while pushing your knees backward.
-
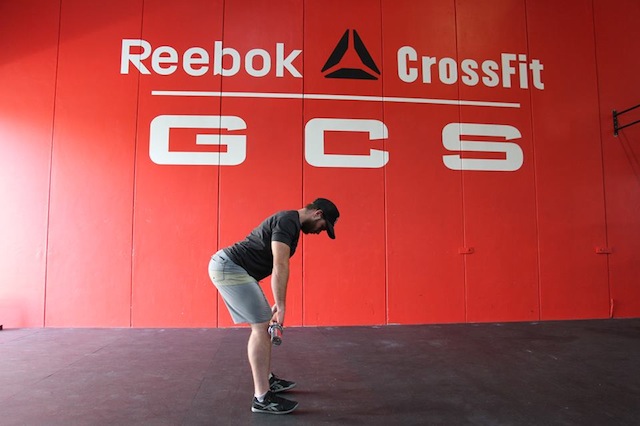
Straighten the knees fully without rounding your spine.
-
Once you achieve this position, maintain and revisit it regularly for lasting flexibility gains.
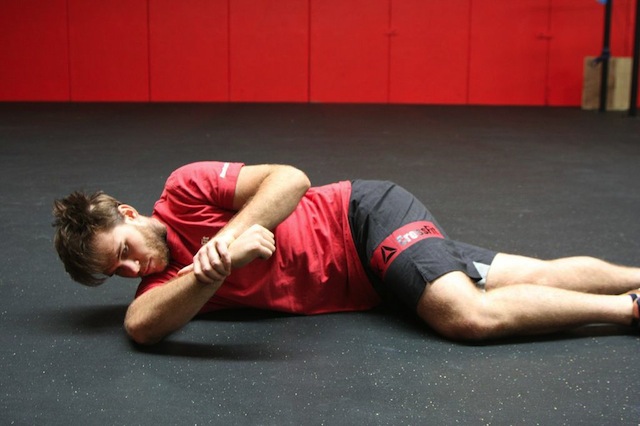
3. GIRD Stretch — Glenohumeral Internal Rotation Deficiency
Tightness in the posterior shoulder capsule and inferior glenohumeral ligament can cause major issues for overhead movements. Without enough internal rotation, you risk labral tears, rotator cuff strains, tendonitis, impingement, and general shoulder pain.
How to Perform:
-
Lie on your side with your shoulders vertically stacked.
-
Position your arm at 90° from your torso with the elbow bent at 90°.
-
Use your top hand to gently guide the lower wrist toward the floor.
-
The goal: achieve between 0° and 20° from the ground.
-
Stay over the shoulder — don’t roll backward or twist your torso.
This stretch restores internal rotation and protects your shoulders during presses, jerks, and snatches.
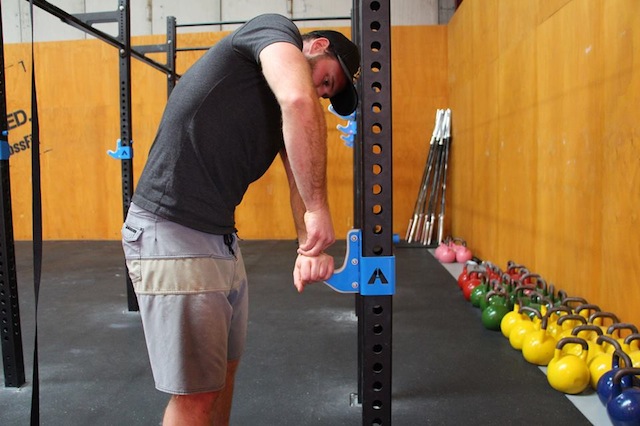
4. Wrist & Hand Self-Mobilisation
Your hands and wrists contain 14 phalanges, 5 metacarpals, 8 carpals, and 2 forearm bones — meaning there are many joints, and any stiffness can limit your movement. Poor wrist mobility often affects your front rack position and overhead lifts.
How to Perform:
-
Use a J-hook or similar support to lock down part of your wrist.
-
With your thumb and index finger, glide the small wrist joints up and down.
-
Focus on the stiffest joints first — these limit your range the most.
-
Just 1 minute per hand can significantly improve mobility and front rack comfort.
-
This is difficult to explain unless you have had it done… I will try to post a video of it soon on my YouTube channel “ThePhysioDetective.”
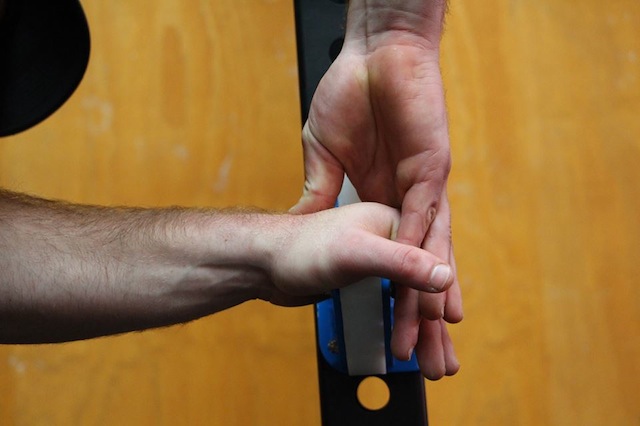
Start position for wrist mobility into extension
Position to glide the wrist bones into extension

Close up showing the finish position for the wrist mobility into extension – with movement
5. Releasing the Abs & Ribs
Overactive or tight abdominal muscles and serratus anterior can restrict breathing and shoulder function. Releasing these areas can improve your stability overhead.
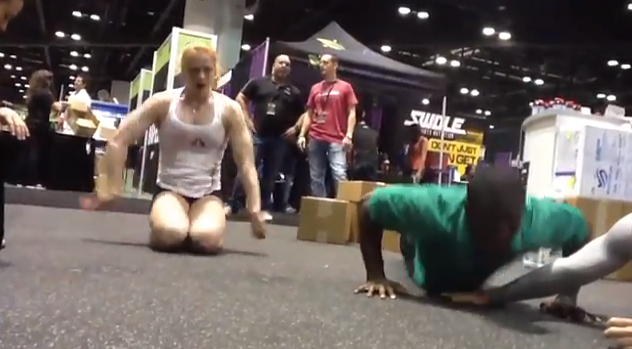
A. Kettlebell Abdominal Release (“The Kettlebell Shag”)
-
Place a kettlebell or dumbbell gently on your abdomen while lying on your back.
-
Apply gentle pressure — avoid being too aggressive, as your organs are sensitive.
-
Spend ~1 minute on each side and retest your lift or movement.
-
Do not perform this exercise if pregnant.
B. Rib Roller Release
-
Lie on your side with a foam roller under the bottom of your ribcage.
-
Slowly roll upward along the ribs.
-
At each sore spot, move side-to-side and up-and-down for 10–15 seconds.
-
Do one side first, retest your movement, then repeat on the other side.
Key Safety Tips
-
Always test and retest movements after each drill.
-
Stop immediately if you feel sharp pain, numbness, or tingling.
-
Start light and controlled — these drills are about mobility, not max strength.
-
If you’re unsure, ask your coach or physiotherapist for guidance.
Final Thoughts
Mobility work is one of the biggest performance multipliers for athletes. By adding these five exercises into your training, you’ll:
-
Improve your lifting positions
-
Enhance flexibility
-
Reduce injury risk
-
Move and breathe more freely
The key is consistency. Test, retest, and keep track of the drills that give you the best results. Over time, you’ll see huge improvements in performance, recovery, and comfort.

Kettlebell shag with Brandon Swan

Rib roller with Brandon
![]()


Follow Us