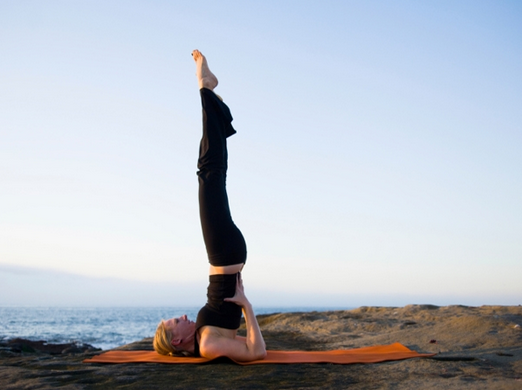
Shoulder Stand on the Beach
We all know there’s more to training than just showing up for the daily WOD. CrossFit is a demanding sport that requires the perfect synergy between sleep, diet, rest and training.
Part of fine tuning our training quite often means working on our mobility and flexibility outside of the box.
As the 2013 Games season gets underway we thought it was the perfect time to give you at least one stretch a week that is effective and easily implemented into your CrossFit routine.
That said, today’s stretch of the week will have you observing the world from a different angle. While the shoulder stand looks more like it belongs in a school playground, rather than a CrossFit box it shouldn’t be underestimated as a remedial tool.
What is it?
From the outside this pose, may not look like much of a stretch but the shoulder stand does in fact encompass an element of lengthening where the human body is concerned. This pose elongates the neck and shoulders, and even has a calmative effect on the body, which I’m guessing you all need after Open WOD 13.1!
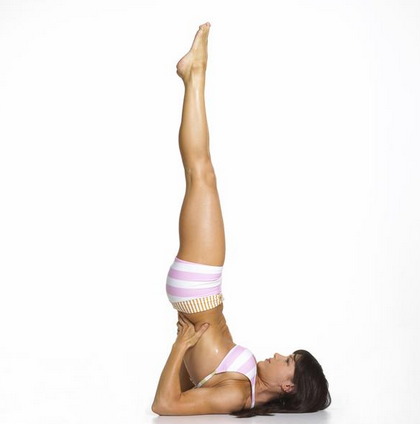
What are the benefits?
The shoulder stand certainly stretches the realms of mobility. Not only does it aim to strengthen, support, mobilise and lengthen, it is a therapeutic movement that may even take you back to those childhood days that were spent experimenting with all things flexibility.
-Stretches the neck and shoulders.
-Tones the buttocks and legs (woohoo, bonus).
-Calms the brain.
-Releases nervous tension.
-Improves digestion.
-Reduces fatigue and relieves insomnia.
-Alleviates stress and mild depression.
-Stimulates the abdominal organs.
-Restorative effects for those with asthma and sinusitis.
How is it done?
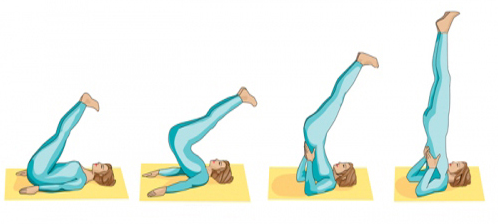
Shoulder Stand Progression
1. To begin this pose lie on the floor with a mat or towel beneath your body. Let the arms rest alongside your torso on the floor.
2. Bend the knees and press the feet lightly on the floor. Ensure the heels are placed close to the buttocks.
3. As you exhale press the arms into the floor and then push the feet off the floor. Actively draw the thighs into your trunk.
4. Start to move the torso off the floor by rounding the pelvis. Let the knees fall toward the face and press into the palms. Keep the chin tucked throughout the posture but be sure not to strain the neck or head.
5. Bend the elbows and with your hands reach for your lower back. To check your alignment ensure your trunk is approximately 90 degrees to the floor. To correct your position you can raise the pelvis over your shoulders (if you’re not quite there yet).
6. It’s time to straighten the legs so the thighs and calves fall in line with the trunk of your body. When the legs are completely straight lift through the balls of the feet and reach for the sky above.
7. Relax, soften and hold the stretch upwards of 40 seconds to 2 minutes. To deepen the stretch press the backs of the arms and the tops of the shoulders into the floor, and actively lift the upper spine away from the ground. Stay in this position for however long your body requires, but be sure to maintain relaxed breathing.
8.When you feel ready to come out of the posture, exhale and bend the knees into your torso. With caution roll your back on to the floor. As you exit be sure to keep the head connected to the ground.
Things to note
It is important that the elbows don’t slide outwards in this posture. They should sit just outside of shoulder-width. If the elbows slide too far apart the torso sinks into the upper back, collapsing the posture and making the stretch potentially harmful. If you notice that your elbows slide try performing the posture on extra cushioning with an additional towel placed on top of the mat.
Still confused?
Then we have two demo videos for you below.
http://www.youtube.com/watch?v=Oo66EYcbDQM







Follow Us